Set up school fees: how parents pay, fee plans and each student's fee
Tell parents how to pay, keep fee plans by class, see each student's fee and what is overdue, and create a month's fees for a class.
Every screen in the films is the real product, shown on a demo school made for them.
If your fee book lives on paper or in a spreadsheet, this is where it moves. The office keeps the fee plans, each student's fee and the school's payment details in one place, and parents see how to pay right beside what they owe, and again in the reminder emails.
The film sets up how parents pay, opens a fee plan and the students who pay it, looks at the overdue fees and one student's fee, and creates December's fees for Class 10.
Step by step
Add your UPI details
Press School, then the Payment gateway tab. Upload your school's UPI QR code and type your UPI ID. Parents see both with their fees and in reminder emails.
Watch from 0:13Add the bank account and ways to pay
Below, add the school's bank account. Tick the ways parents may pay, UPI, a bank transfer or cash, and press Save changes.
Watch from 0:13Read your fee plans
Press Fees in the left menu, then the Plans tab. Each plan is one fee: its class, the amount and the students who pay it. Press a plan's name, here Tuition Fee (Monthly), to see the fees due, what is collected and what is still owed.
Watch from 0:51See each student's fee
Press See students' fees. Each student's fee is listed with the amount, the due date and where it stands. The Overdue tab narrows it to the fees not paid by their due date.
Watch from 1:15Open one student's fee
Press a name, here Arjun. His fee shows the full fee, what is paid so far and what is still owed.
Watch from 1:15Create a month's fees for a class
Go back to Student fees and press Create student fees. Pick the class, press Select all, then Continue. Pick the plan and the first and last day of the month and press Continue. Check the students, the plan and the due date, then press Create.
Watch from 1:45See next month on Overview
Press the Overview tab. The new month now shows what the school expects to collect.
Watch from 2:28
Good to know
What parents see
The UPI QR code and UPI ID you save appear with each fee on the student's Fees page and in the reminder emails, so families pay into the right account.
A check before anything is made
Creating a month's fees ends on a check of the students, the plan and the due date. The fees are made only when you press Create.
Sample details in the film
The QR code, UPI ID and bank details in the film are samples on a demo school, not a real account. December's fees were created for real and removed afterwards.
Questions
- Can parents pay school fees by UPI?
- Yes. Upload your UPI QR code and type your UPI ID under School, Payment gateway, and tick UPI. You can also allow a bank transfer or cash.
- How do I see which students have not paid their fees?
- Under Fees, open the students' fees and press the Overdue tab. It lists the fees not paid by their due date.
- Do I have to create each student's fee by hand?
- No. Create student fees makes a month's fees for a whole class: pick the class, select all, choose the plan and the dates, check, and create.
What the film saysThe narration, scene by scene.
Set up fees. This is the school admin dashboard. Here is how to set up fees: how parents pay, your fee plans, and each student's fee.
How parents pay. On the left, press School. Then press the Payment gateway tab.
Your UPI QR code. Upload your school's UPI QR code here. Below it, your UPI ID. Parents see them with their fees, and in reminder emails.
Your bank account. Then, your school's bank account.
Ways to pay. Tick how parents can pay: UPI, a bank transfer, or cash. Then press Save changes.
Fee plans. On the left, press Fees. Then press the Plans tab. Each plan is one fee: its class, the amount, and the students who pay it.
A plan's page. Press Tuition Fee Monthly. Its page shows the fees due, what is collected, and what is still owed.
Each student's fee. Press See students' fees. Here is each student's fee: the amount, the due date, and where it stands.
Overdue. Press the Overdue tab: the fees not paid by their due date.
One student's fee. Press a name: Arjun. Arjun's fee shows what is still owed, the fee, and what is paid so far.
December's fees. Now, December's fees. Go back to Student fees, and press Create student fees.
Which students. Pick Class 10, and press Select all. Then, at the bottom, press Continue.
The plan and the dates. Pick the plan: Tuition Fee Monthly. For the dates, the first and the last day of December. Press Continue.
Check, then create. Check the fees: the students, the plan, and the due date, the 10th of December. Press Create.
December, expected. Press the Overview tab. Next month, December, now shows what to expect.
Coming up. Next: Fees, payment proofs and records.
Watch next
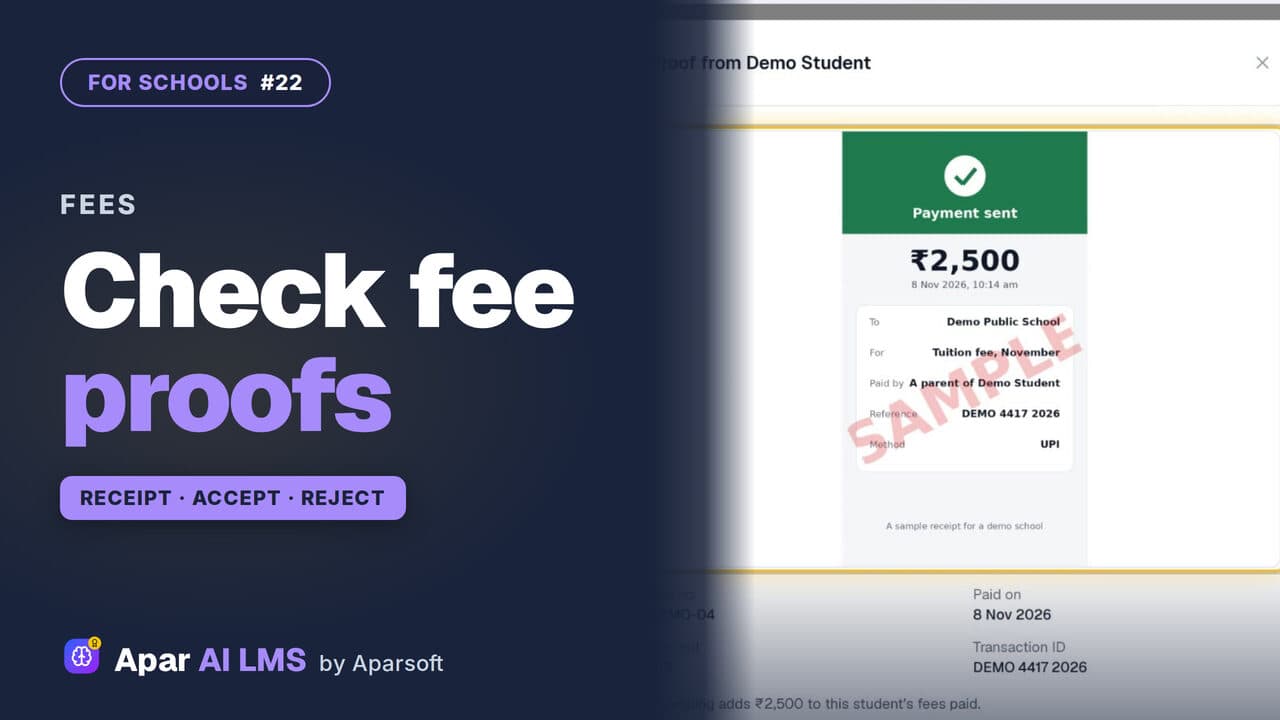 Length2:29#22 · School office
Check Fee Payment Proofs and Record Cash
Families send a payment with its receipt; the office accepts it, or rejects it with a reason they can read. Cash at the office is recorded too.
 Length2:39#23 · School office
Send Fee Reminders to Parents by Email
Send overdue, due-soon or advance fee reminders by email, read each one first, retry a failed address, and set a weekly campaign.
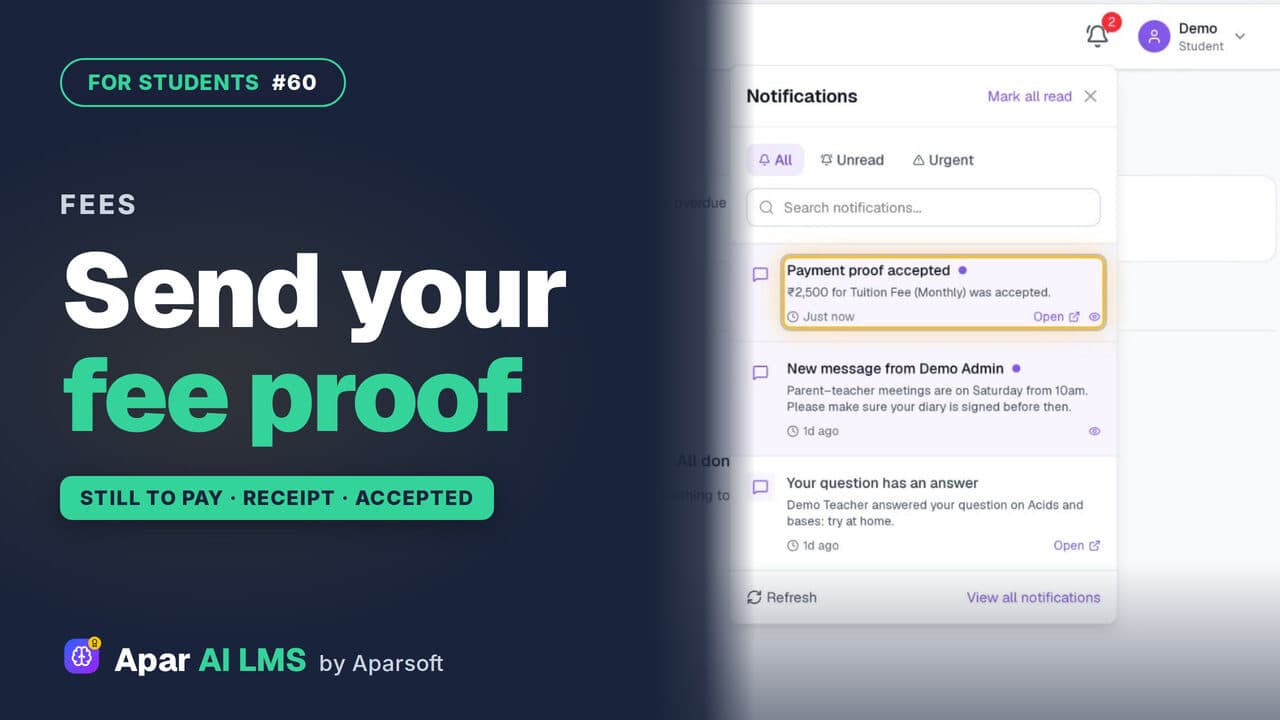 Length1:43#60 · Students
School Fees: See What Is Due, Send a Proof
See what is still to pay, pay the school by QR code or bank transfer, then record the payment with a photo of the receipt for the school to check.
Try it on your own school
Start the 2-month free trial. No payment.
- No payment
- No commitment
- Onboarding included