Invite teachers to your school LMS, one by one or many at once by CSV
Invite teachers one at a time or by CSV, follow the invites until they join, and change a teacher's status when they go on leave.
Every screen in the films is the real product, shown on a demo school made for them.
Each teacher joins your school LMS from an invitation the office sends. The teacher opens the link in the email, types their name, sets a password and lands on their own dashboard, already in your school with their department filled in. For a large staff, one CSV file sends many invitations in one go, and every address is checked before anything is sent.
The film invites one teacher, then more by CSV with a mistyped address caught, follows a new teacher through joining, and sets a teacher's status to On leave.
Step by step
Open Teachers
On the school admin dashboard, press Teachers in the left menu. The list shows each teacher, what they teach and their status.
Watch from 0:00Invite one teacher
Press Invite teachers at the top right and type the teacher's email address. You can add a short welcome message, which goes inside the invitation email.
Watch from 0:21Add their department and subjects, then send
Press Context info, pick the department and type the subjects they teach. Press Send invitation. The message on screen confirms it is sent and says until when the link works.
Watch from 0:40Follow up under Invites waiting
Press Invites waiting. Each invite stays here until the teacher joins, and from here you can send it again or cancel it.
Watch from 0:59Invite many teachers with a CSV
Press Invite teachers, then Bulk CSV upload, and upload a file with one email address on each line. Every address is checked first. If one has a mistake, fix it in the file and upload again, or send the good ones now; the send button counts only the good addresses.
Watch from 1:11The teacher joins from the link
The teacher opens the link in the email and types their name; the department is already filled in. They choose a password, tick the box and press Complete Registration. Their dashboard opens, and until they have a class, Home says so.
Watch from 1:49Find them on your list
Back on the school admin dashboard, the new teacher is on the Teachers list, with their department.
Watch from 2:16Set a teacher On leave
When a teacher goes on leave, press the three dots on their row, then Change status, pick On leave and press Save status. The list shows the new status at once, and the teacher keeps their classes.
Watch from 2:26
Good to know
Mistakes are caught before sending
A CSV upload checks every address first and shows which ones have a mistake. One wrong address does not hold back the others.
What comes next
A new teacher has no class until the office gives them one. Do that under Classes, Who teaches what, the next film in the series.
Filmed on a demo school
The invitations, the new teacher joining and the change of status are real actions on a demo school. The addresses never left the film's own server, and everything was removed afterwards.
Questions
- Can I invite all my teachers at once?
- Yes. Under Teachers, press Invite teachers, then Bulk CSV upload, and upload a file with one email address on each line. Every address is checked first, and you can send the good ones while you fix the rest.
- What if a teacher has not joined yet?
- Their invite waits under Invites waiting until they register. From there you can send it again or cancel it.
- Does putting a teacher on leave take away their classes?
- No. Their status changes to On leave and their classes stay with them. To give a class to another teacher, change it under Who teaches what.
What the film saysThe narration, scene by scene.
Invite your teachers. This is the school admin dashboard. Here is how to invite your teachers, one by one, or many at once.
Your teachers. On the left, press Teachers. Here are your teachers, what they teach, and their status.
One teacher. At the top right, press Invite teachers. Type the new teacher's email address.
A welcome message. If you like, add a short welcome message. It goes in the email.
Department and subjects. Press Context info. Pick the department, and type the subjects they teach.
Send. Press Send invitation. The message says it is sent, and until when the link works.
Invites waiting. Press Invites waiting. The invite waits here until they join. You can send it again, or cancel it.
Many at once. Many teachers? Press Invite teachers, then Bulk CSV upload. The file has one email address on each line.
Upload the file. Upload your file. Every address is checked first. Here, one address has a mistake.
Send the good ones. Fix it in the file, or send the good ones now. Press Send 2 invitations.
Three waiting. Now three invites are waiting.
The teacher joins. Now the new teacher opens the link in the email, and types their name. Their department is filled in already. Then they choose a password.
Straight in. They tick the box, and press Complete Registration. This is the teacher dashboard. Until they get a class, Home says so.
On your list. Back on the school admin dashboard, the new teacher is on your list, with their department.
Change a status. When a teacher goes on leave, press the three dots, then Change status. Pick On leave, and press Save status.
On leave. The list shows it at once. Their classes stay with them.
Coming up. Next: Who teaches what.
Watch next
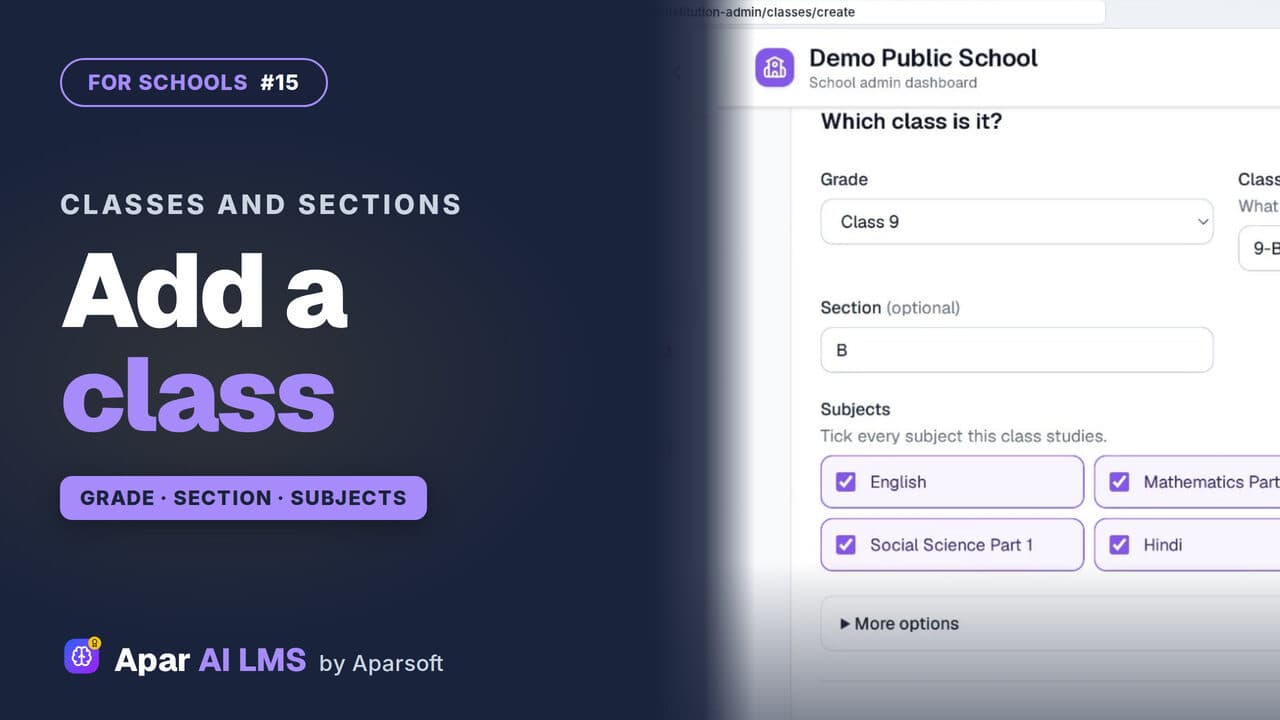 Length2:03#15 · School office
Add Classes and Sections to Your School LMS
Add a class with its grade, name, section and subjects. The teachers can wait; the new class gets its own page at once.
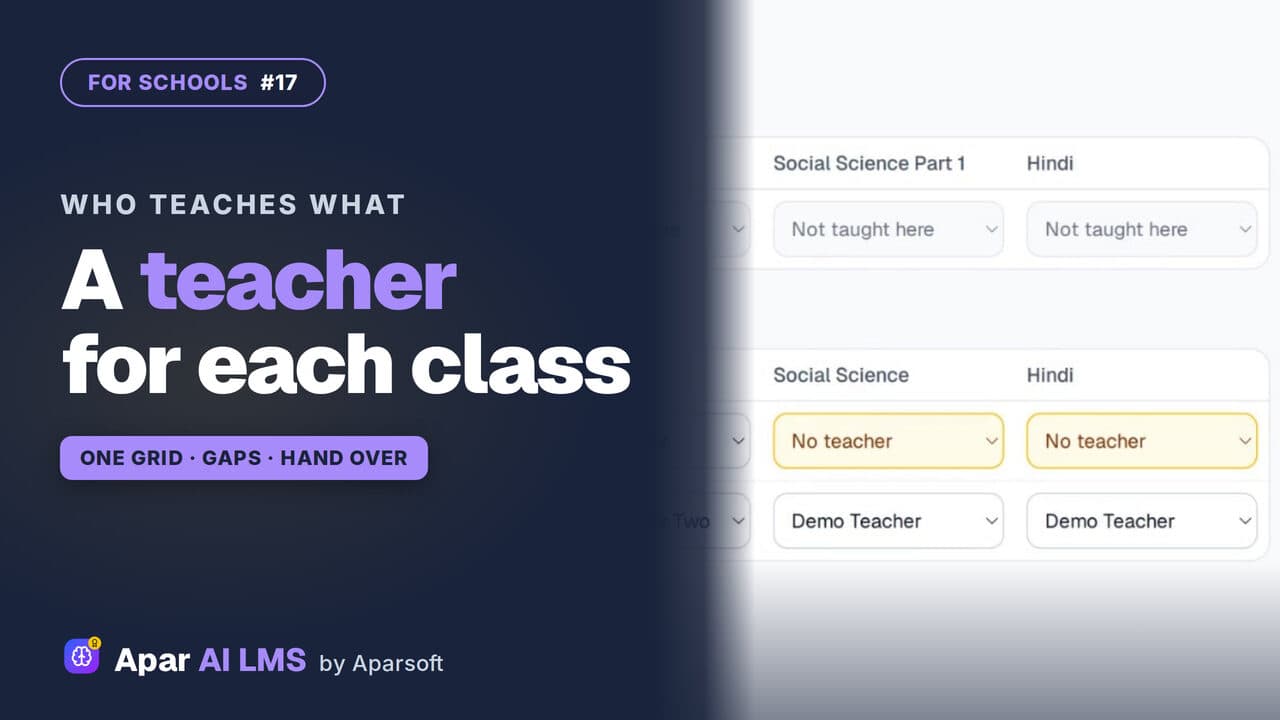 Length1:52#17 · School office
Assign Teachers to Classes and Subjects
One grid per grade shows which subjects have a teacher. Fill the gaps, change a teacher, and the class shows on that teacher's Home.
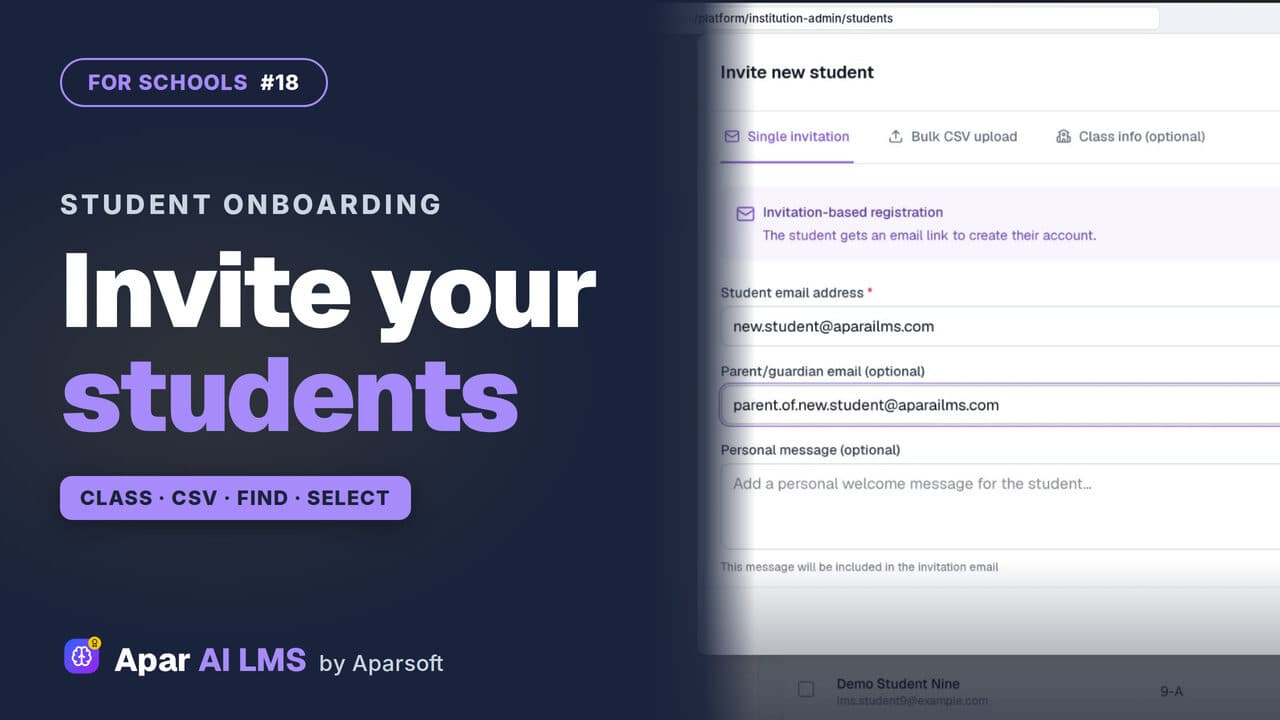 Length2:21#18 · School office
Invite and Manage Students in Your LMS
Invite students into their class by email or CSV, then find them by class or name and act on several at once.
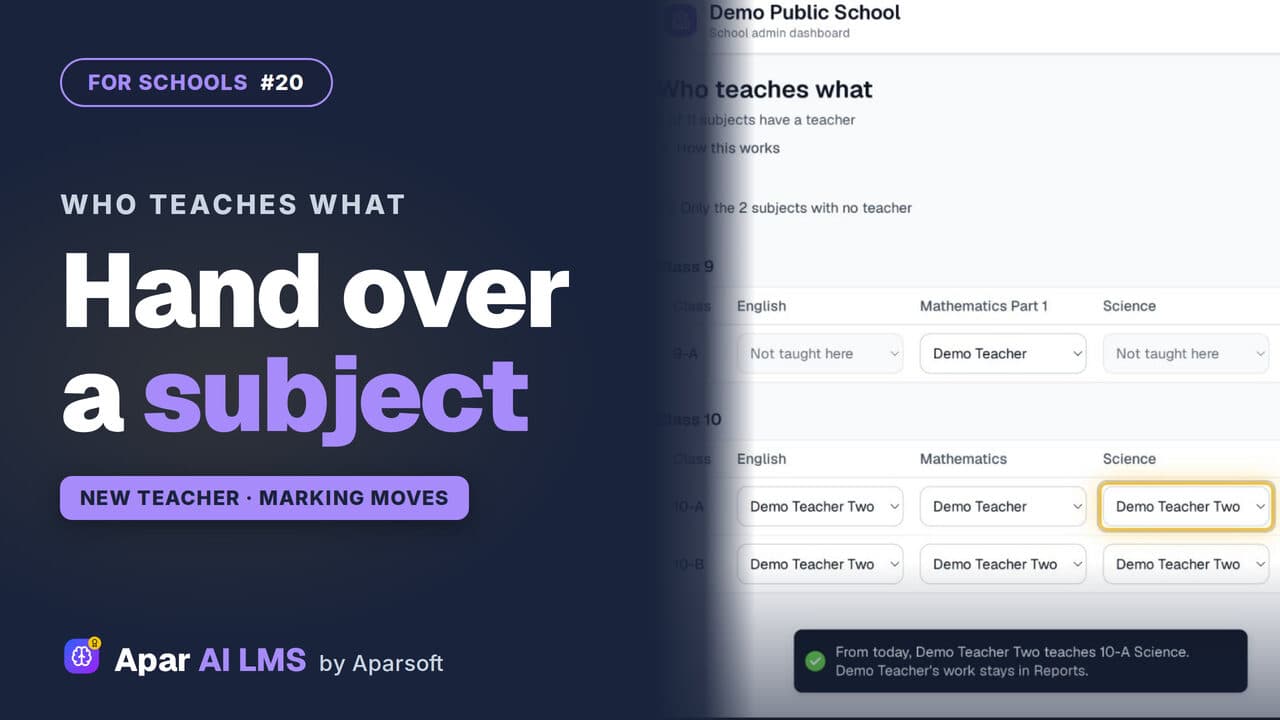 Length2:00#20 · School office
Teacher Change: Hand Over a Subject Mid-Year
Change a subject's teacher in one pick. The class and its waiting answers move to the new teacher; the old teacher's marks stay on record.
Try it on your own school
Start the 2-month free trial. No payment.
- No payment
- No commitment
- Onboarding included