Setting up a new school in Apar AI LMS: the setup checklist, step by step
A new school's first sign-in opens on one checklist. Add the logo and a class, invite a teacher and a student, and watch the list move on by itself.
Every screen in the films is the real product, shown on a demo school made for them.
The hardest part of any new school software is the first day: an empty screen and no idea where to begin. In Apar AI LMS a new school's Home is a single checklist that says what to do, in order, and moves on by itself as each step is done.
This film starts from an empty demo school. It adds the school's logo, creates Class 10-A, then invites one teacher and one student, so you can see exactly what the office does on day one and what is left for later.
Step by step
Sign in and find the checklist
The first time the school office signs in, Home is the setup checklist and nothing else. It shows how many of the steps are done, starting at none.
Watch from 0:00Know the six steps
The list is: School details and logo, Classes and sections, Invite your teachers, Who teaches what, Invite your students, and fees. Fees are optional, so the count is out of five and leaves them out.
Watch from 0:10Add your logo
Press Add your logo, then Upload logo, and press Apply branding. Back on Home, the first step is ticked and the list points you to the next one.
Watch from 0:35Add a class
Press Add a class, choose the grade, type the class name and its section, tick the subjects the class studies and press Continue. The class teacher can be left empty for now, because your teachers have not joined yet. Press Create class.
Watch from 0:57See what waits for what
Home now shows two of five done. Who teaches what stays open on purpose: it needs at least one teacher to have joined.
Watch from 1:20Invite a teacher
Press Invite teachers, type the teacher's email address and press Send invitation. The teacher gets an email with a link to join, and the invite waits on your list until they use it.
Watch from 1:30Or invite a whole staff list
For many teachers at once, open Bulk CSV upload in the same form and send one file of email addresses instead of typing them one by one.
Watch from 1:53Invite a student
Students are invited the same way: Invite students, their email address, Send invitation. Home then shows both invites as waiting.
Watch from 2:05Bring the checklist back later
Once the school is ready, the checklist leaves Home so it does not get in the way. It is never gone: Help, then Setup checklist, opens it again.
Watch from 2:30
Good to know
The order matters, but nothing is locked
The checklist suggests the order that works: classes before teachers, and teachers before Who teaches what. Each step simply opens its own form.
Fees are optional
A school that collects fees elsewhere can skip that step. It does not count towards being ready.
Invites wait until they are used
Nobody gets an account until they open the link in their email. Until then the invite waits on your list, and you can see who has not joined yet.
A real run on a demo school
Every action in the film is real: the logo uploaded, Class 10-A created, and the checklist moving from none done to two of five.
Questions
- Do I need to add every class before inviting teachers?
- No. The film adds one class, then invites a teacher and a student. You can come back and add more classes at any time.
- Can I invite many teachers or students at once?
- Yes. The invite form has a Bulk CSV upload tab, so a whole list of email addresses goes in one file.
- Where does the setup checklist go when the school is ready?
- It leaves Home. You can open it again from Help, then Setup checklist.
What the film saysThe narration, scene by scene.
A new school's Home. A new school signs in for the first time. Its Home is one list: what to do, in order.
The six steps. School details and logo. Classes and sections. Invite your teachers. Who teaches what. Invite your students. And fees, if you want them.
What counts. Zero of five are done. Fees are optional, so they do not count.
Step one: the logo. Start with step one. Press Add your logo. Press Upload logo, and your logo shows here. Then press Apply branding.
The list moves on. Press Home. One of five is done, and step two is the one to do next.
Step two: a class. Press Add a class. Choose the grade. Type the class name, and its section. Tick its subjects, and press Continue.
Create the class. The class teacher can wait until your teachers have joined. Press Create class.
Two of five. Press Home. Two of five are done. Who teaches what now waits for a teacher.
Invite a teacher. Invite your teachers is next. Press Invite teachers, and the form opens. Type your teacher's email, and press Send invitation.
The email goes out. The teacher gets an email with a link to join. Until then, the invite waits here.
A whole list. Many teachers? Press Invite teachers, then Bulk CSV upload, and send one list. Press Cancel for now.
Invite a student. Press Home. Students work the same way. Press Invite students. Type the student's email, and press Send invitation.
Who is waiting. Press Home. Both invites are waiting. When your teacher joins, Who teaches what is next.
Help reopens it. When the school is ready, this list leaves Home. To see it again, press Help, then Setup checklist.
Coming up. Next: School Home, what needs you today.
Watch next
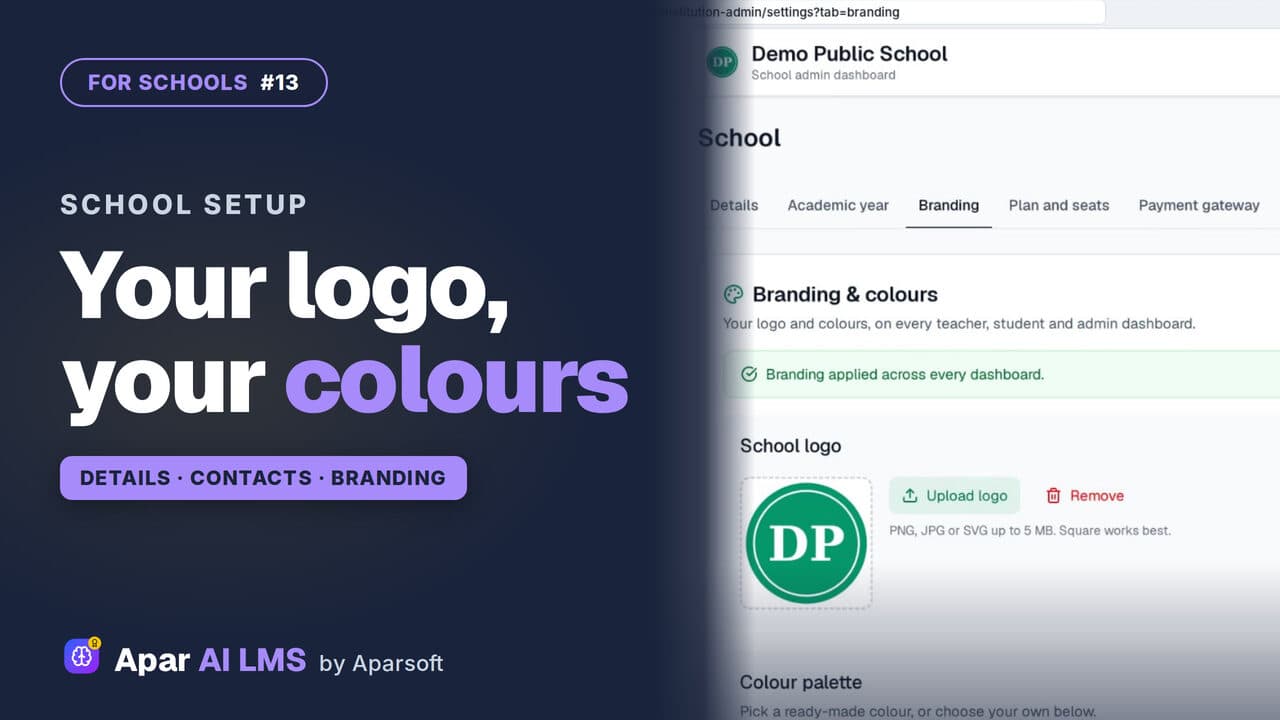 Length2:57#13 · School office
School Logo, Colours and Details in Your LMS
One School page holds your details, contacts, logo and colour. Apply the branding once and the teacher and student dashboards take it too.
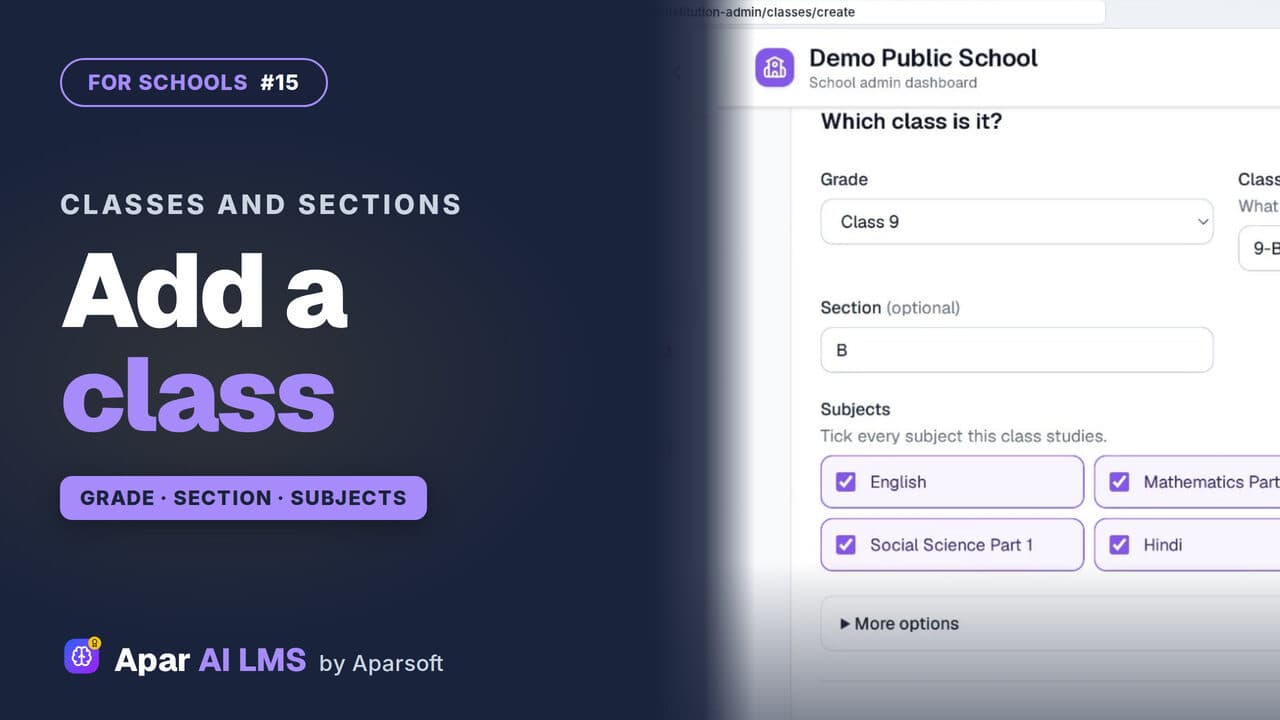 Length2:03#15 · School office
Add Classes and Sections to Your School LMS
Add a class with its grade, name, section and subjects. The teachers can wait; the new class gets its own page at once.
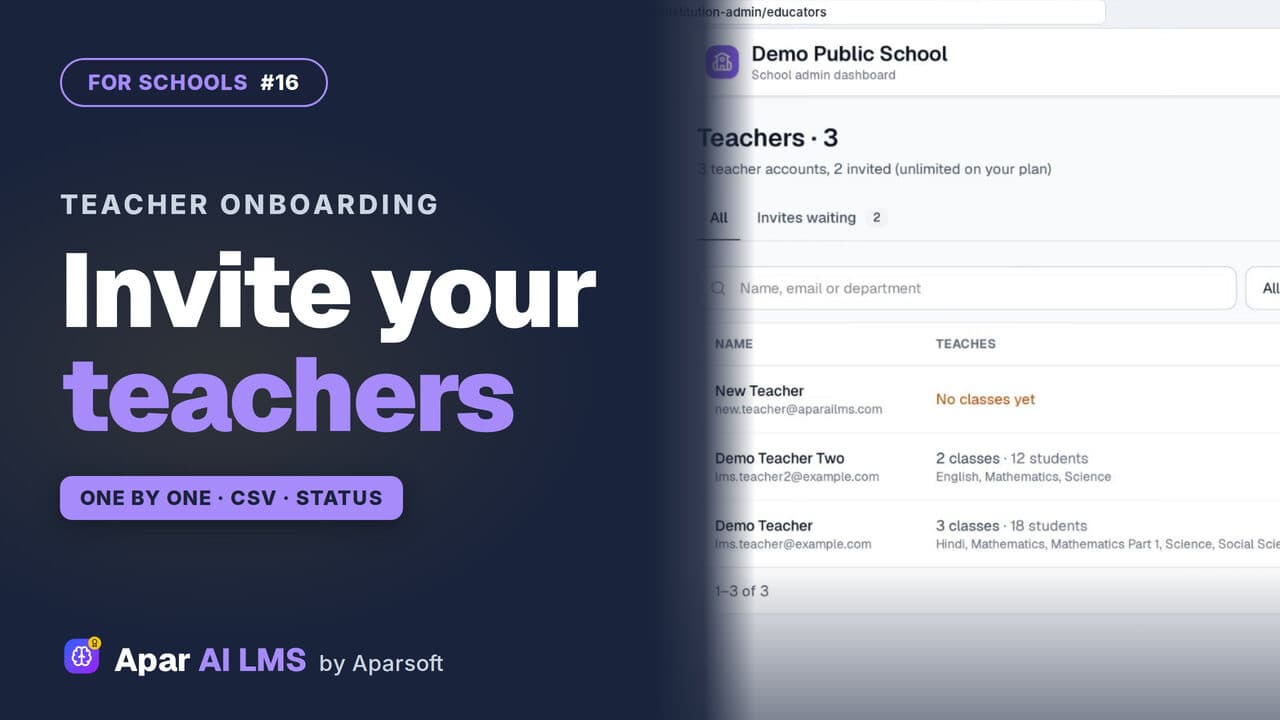 Length3:00#16 · School office
Invite Teachers to Your School LMS by CSV
Invite teachers one at a time or by CSV, follow the invites until they join, and change a teacher's status when they go on leave.
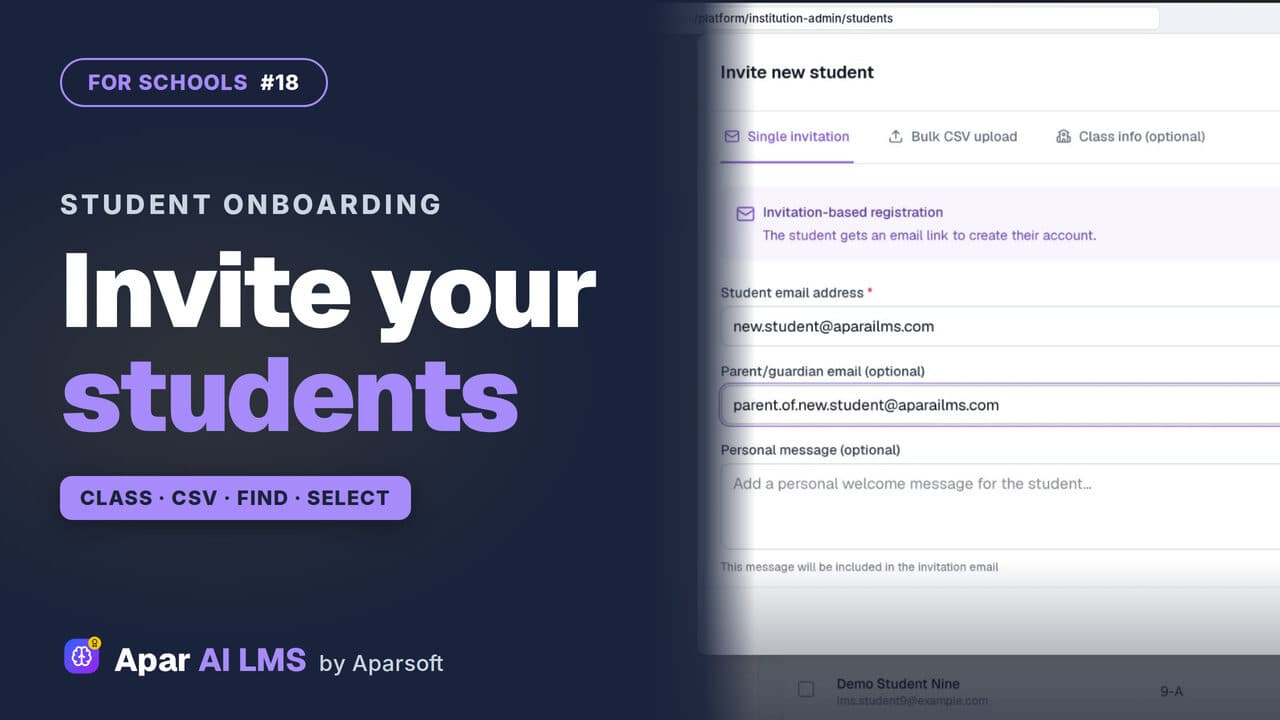 Length2:21#18 · School office
Invite and Manage Students in Your LMS
Invite students into their class by email or CSV, then find them by class or name and act on several at once.
Try it on your own school
Start the 2-month free trial. No payment.
- No payment
- No commitment
- Onboarding included