Set up your school's details, logo and colours in the school LMS
One School page holds your details, contacts, logo and colour. Apply the branding once and the teacher and student dashboards take it too.
Every screen in the films is the real product, shown on a demo school made for them.
Before teachers and students sign in, the office should make the LMS read and look like your own school. The school's email, phone and address are what your teachers and students see. Your logo and colour go on every dashboard, so the LMS carries your school's own name and look. And the billing contact is the person who hears about your plan and payments.
This film does all of it on one page, School, on a demo school. It saves the website, adds a contact person and the billing contact, uploads a logo and applies a colour, then opens a teacher's and a student's dashboard to show the same branding there.
Step by step
Open School and its five tabs
On the school admin dashboard, press School in the left menu. Everything about the school sits under five tabs: Details, Academic year, Branding, Plan and seats and Payment gateway. This film covers Details and Branding; the academic year has a film of its own.
Watch from 0:11Check your details and add the website
Details opens first, with the school's name, its type and its registration number. Below are the email, phone and address. Check them with care, because teachers and students see them. Type the school's website and press Save changes.
Watch from 0:25Add a contact person
Under People to contact, press Add contact person. Type their name, choose their role, then add their email and phone number.
Watch from 0:54Name the billing contact
The billing contact is the one who receives the emails about your plan and payments, so choose someone who will act on them. Type their name and email, and press Save changes to keep both contacts.
Watch from 1:11Watch the Setup bar move
At the bottom of the page, Setup shows how far the school's setup has got. With the details and contacts saved it reads 60%. The logo and the colour come next.
Watch from 1:27Upload your logo and pick a colour
Open the Branding tab and press Upload logo; the logo shows on the page straight away. Pick one of the ready colours, or type your own. The film picks Emerald Campus. The preview shows where the colour will go: the menu, the buttons and the links.
Watch from 1:37Apply the branding
Press Apply branding. Your own dashboard changes to the new logo and colour at once, so you can see the result before anyone else does.
Watch from 2:04Check the teacher and student dashboards
Open a teacher's dashboard: it has the same logo and colour. So does the student dashboard, and under My school students also see your logo and your website.
Watch from 2:14One step left: the academic year
Back on School, Setup now reads 80%. The last step is the academic year, with its terms, events and holidays, which the next film covers.
Watch from 2:33
Good to know
Who sees what
The school's email, phone and address are shown to your teachers and students, and students see the logo and the website under My school. The billing contact is for the emails about your plan and payments.
One colour for every dashboard
The colour you apply on Branding goes on the menu, the buttons and the links of the office's, the teachers' and the students' dashboards. You set it in one place, not once per dashboard.
Filmed on a demo school
Every action in the film is real, on a demo school made for these videos: the website saved, the two contacts added, the logo uploaded and the colour applied. The school was put back as it was afterwards.
Questions
- Can we put our own school logo and colour on the LMS?
- Yes. Under School, Branding, upload your logo, pick a ready colour or type your own, and press Apply branding. The teacher and student dashboards take the same logo and colour.
- What is the billing contact for?
- The billing contact gets the emails about your school's plan and payments. You add their name and email on the Details tab, below the contact person.
- What does the Setup bar on the School page show?
- How much of the school's setup is done. In the film it reads 60% after the details and contacts, 80% after the branding, and the academic year is the last step.
What the film saysThe narration, scene by scene.
One page for your school. This is the school admin dashboard. Your school's details, its logo and its colour are all on one page.
School: five tabs. On the left, press School. It has five tabs. Details, Academic year, Branding, Plan and seats, and Payment gateway.
Details. Details comes first. Here are the school's name, its type and its registration number.
What everyone sees. Below are the school's email, phone and address. Your teachers and students can see these.
Type the website and save. Type your school's website. Then press Save changes.
People to contact. Under People to contact, press Add contact person.
Name, role, email, phone. Type their name. Choose their role. Then type their email and phone number.
The billing contact. The billing contact gets the emails about your plan and payments. Type their name and email.
Save the contacts. Press Save changes.
Setup: sixty percent. At the bottom, Setup is now sixty percent done. Next are the logo and the colours.
Branding: the logo. Press the Branding tab. Press Upload logo, and your logo shows here.
Pick a colour. Pick your school's colour, or type your own. Here, press Emerald Campus.
The preview. The preview shows where your colour goes: the menu, the buttons and the links.
Apply branding. Press Apply branding. Your own dashboard takes the logo and the colour at once.
The teacher dashboard. Open the teacher dashboard. It has the same logo and colour.
The student dashboard. The student dashboard has them too. In My school, students see your logo and your website.
Setup: eighty percent. Back on School, Setup is eighty percent done. The academic year is the last step.
Coming up. Next: Academic year: terms, events and holidays.
Watch next
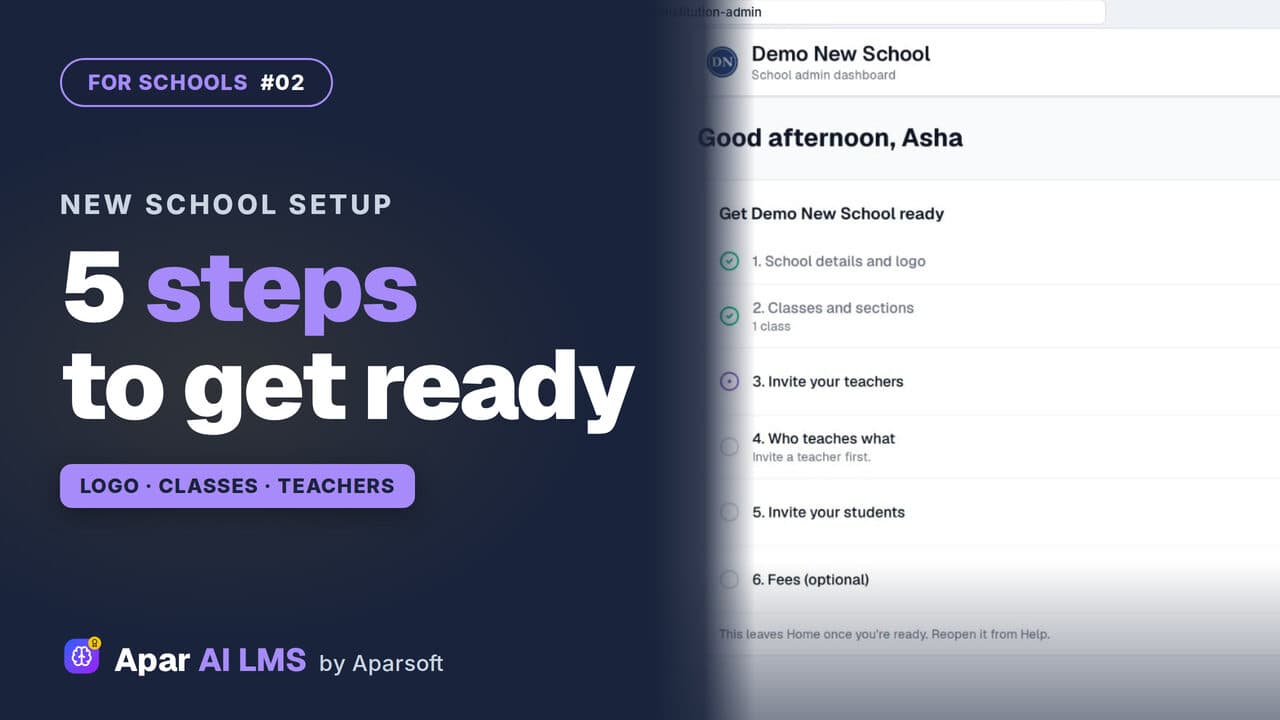 Length2:55#02 · School office
New School Setup Checklist in Apar AI LMS
A new school's first sign-in opens on one checklist. Add the logo and a class, invite a teacher and a student, and watch the list move on by itself.
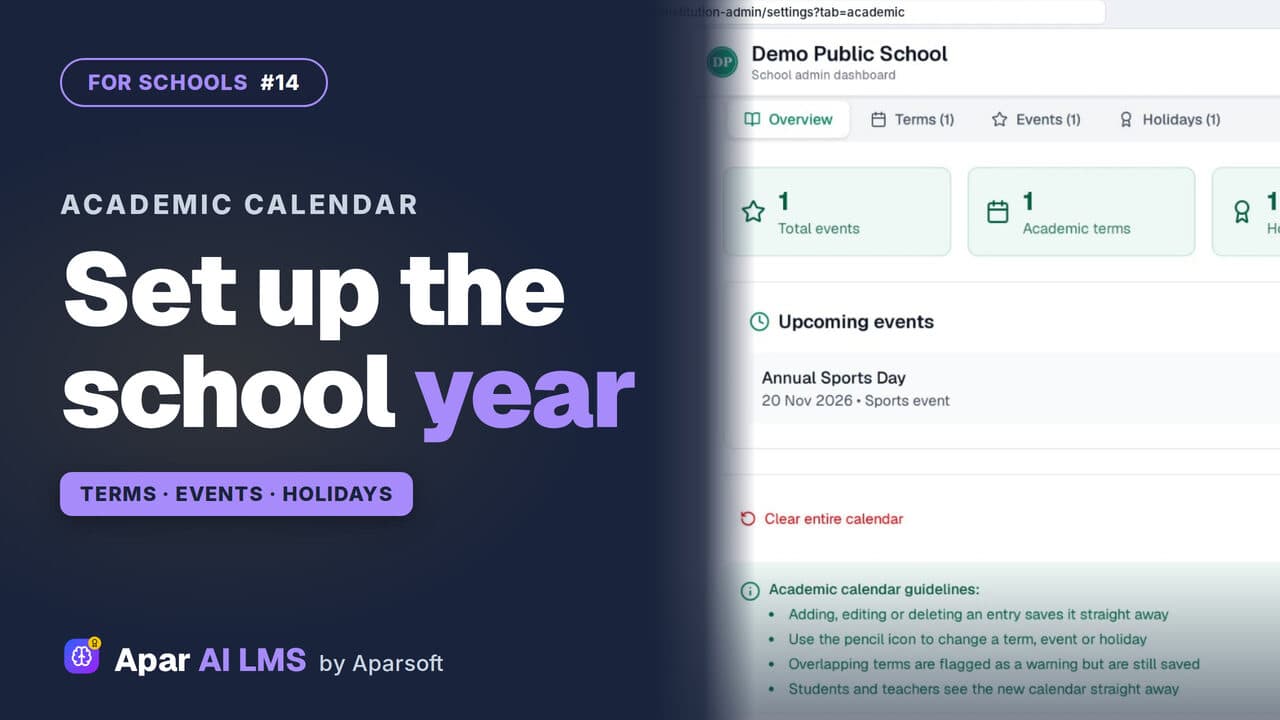 Length2:34#14 · School office
Academic Calendar: Add Terms and Holidays
Add each term, event and holiday once. Overview counts them, school setup is done, and students see the calendar under My school.
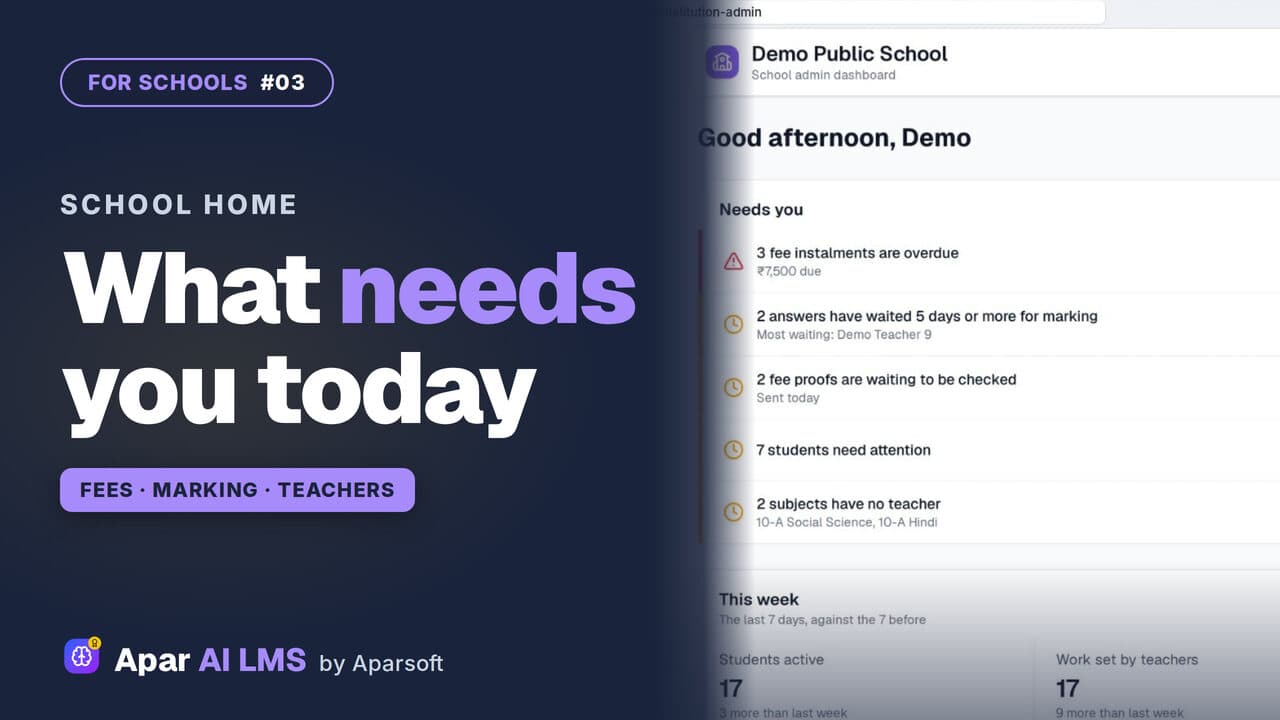 Length2:05#03 · School office
School Admin Dashboard: What Needs You Today
School Home answers one question for the office: what needs you today? Only what is waiting, most urgent first, each row with its own button.
Try it on your own school
Start the 2-month free trial. No payment.
- No payment
- No commitment
- Onboarding included