School LMS tour: what the office, a teacher and a student each see
One school, three roles. Follow a chapter from the teacher who shares it to the student who studies it, then the marking and the reports.
Every screen in the films is the real product, shown on a demo school made for them.
Most school software shows everyone the same crowded screen. In Apar AI LMS each role, the school office, the teachers and the students, signs in to its own Home, and that Home answers one question: what needs me today?
This film follows one school through a normal day. The office sees what is overdue, a teacher shares a ready chapter with Class 10-A, a student studies it with help from AI, a graded topic is marked, and the reports pick it all up.
Step by step
The office opens on what needs it
The school office's Home starts with Needs you: overdue fees, fee proofs to check, students who need attention and subjects with no teacher, the most urgent first. Each row has its own button that opens the work behind it. Further down, the classes are listed with the one furthest behind first.
Watch from 0:16The teacher sees the work to mark
The teacher's Home lists the answers waiting to be marked and the students who need help, before anything else.
Watch from 0:52A chapter is already there
Under Library, the teacher picks Science and opens Chemical Reactions and Equations. Its concept maps, lesson plans, notes and questions are ready. Nobody had to upload or type them.
Watch from 1:10Share it with a class
The teacher presses Notes, then Share with classes, ticks 10-A and presses Share. The notes are with the class at once.
Watch from 1:25The student finds it
The student's Home shows what to do next. Under Subjects, Science, the chapter now holds the notes the teacher shared.
Watch from 1:37Explain with AI
Stuck on a part, the student presses View full content, then Explain with AI, and the AI goes over the same idea again in simple steps.
Watch from 1:58A graded topic, marked at once
The teacher had also set a graded topic. The student presses Start, answers each question and presses Submit my attempt. MCQs are marked automatically, and a wrong answer shows the right one.
Watch from 2:11The teacher marks written answers
Back on the teacher's Home, one row is the work waiting for marking. Under Marking the answers wait with the oldest first. The teacher reads each one, picks the marks and presses Save mark. The count on Home comes down by one.
Watch from 2:43The office sees the whole school
Under Reports, the office sees every class, subject and teacher in one place.
Watch from 3:20
Good to know
Every screen is the real product
The film was made on a demo school built for these videos. The share, the graded attempt and the marks are real actions, and the AI Explain answer is the model's own reply, recorded while filming.
Who does what
The office runs the school: fees, teachers, students, classes and reports. Teachers set and mark work. Students study and submit. Each role sees only its own Home and its own menu.
What the AI does here
AI Explain helps the student understand. MCQs are marked automatically. For written answers, the teacher decides the mark.
Questions
- Does a teacher have to upload chapter content first?
- No. Each chapter arrives with concept maps, lesson plans, notes and questions made from the NCERT book. A teacher can still add their own files.
- Can students see work the teacher has not shared?
- No. In the film, the notes appear for the student only after the teacher shares them with 10-A.
What the film saysThe narration, scene by scene.
One school, three Homes. This is Apar AI LMS. One school, and three roles: the office, the teachers, and the students. Each role has its own Home. It says what needs them today.
The office: Needs you. First, the school office. Needs you lists the work for today, with the most urgent first.
Each row opens the work. Fees are overdue. Fee proofs wait to be checked. Some students need attention. Two subjects have no teacher. Each row has a button that opens the work.
Your classes. Further down are your classes. The one furthest behind comes first.
The teacher's Home. Now the teacher. Home lists the work to mark, and the students who need help.
Library. Press Library. Here are the subjects you teach. Press Science.
A chapter, ready. Every chapter of the book is here. Press Chemical Reactions and Equations. Concept maps, lesson plans, notes and questions are ready for it.
Share the notes. Press Notes. Press Share with classes. Tick 10-A, and press Share. The notes are now with the class.
The student's Home. Now the student. Home shows what to do next. Press Subjects, then Science.
The shared notes. Press the chapter. The notes the teacher shared are here. Press Revision notes.
Explain with AI. Stuck on a part? Press View full content. Then press Explain with AI. AI explains it again, in simple steps.
A graded topic. Press Home. The teacher also set a graded topic. Press its Start. Then press Start my attempt.
Answer and hand in. Pick an answer for each question. Then press Submit my attempt, and confirm.
Marked at once. It is marked at once. MCQs are marked automatically. A wrong answer shows the right one.
The teacher marks. Back to the teacher. Press Home. This row is the work waiting for marking. Press Marking. Answers wait here, with the oldest first. Press the first one.
Save the marks. Read the answer, pick the marks, and press Save mark. Then do the same for the next answer.
Home has moved. Press Home. The number has come down by one, here and in the menu.
Reports. And the office sees the whole school in Reports: every class, subject and teacher.
Coming up. Next: get your school ready, with the setup checklist.
Watch next
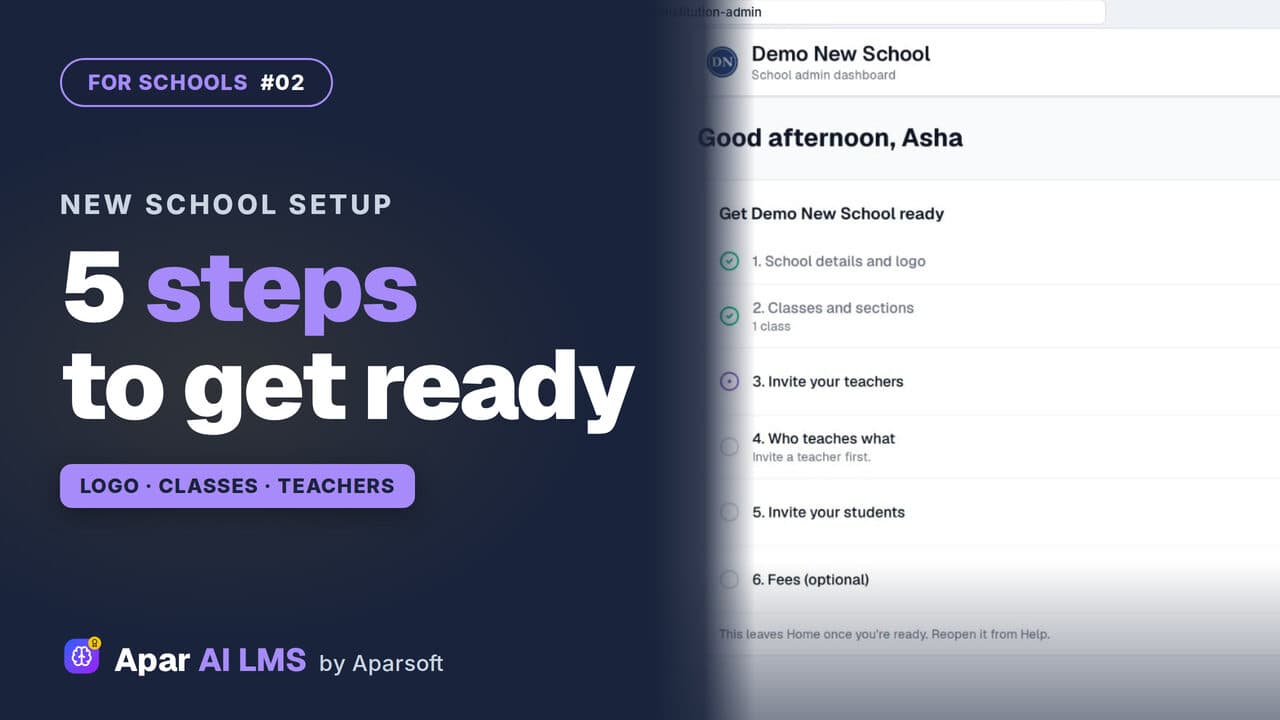 Length2:55#02 · School office
New School Setup Checklist in Apar AI LMS
A new school's first sign-in opens on one checklist. Add the logo and a class, invite a teacher and a student, and watch the list move on by itself.
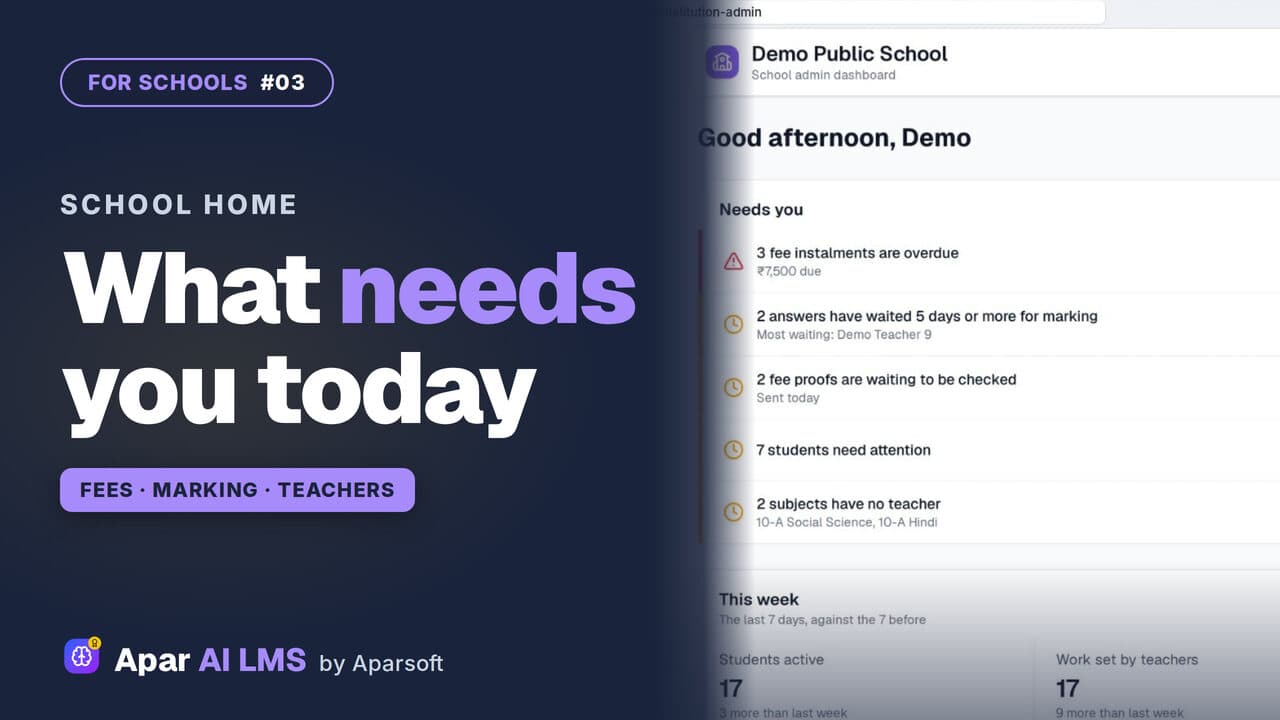 Length2:05#03 · School office
School Admin Dashboard: What Needs You Today
School Home answers one question for the office: what needs you today? Only what is waiting, most urgent first, each row with its own button.
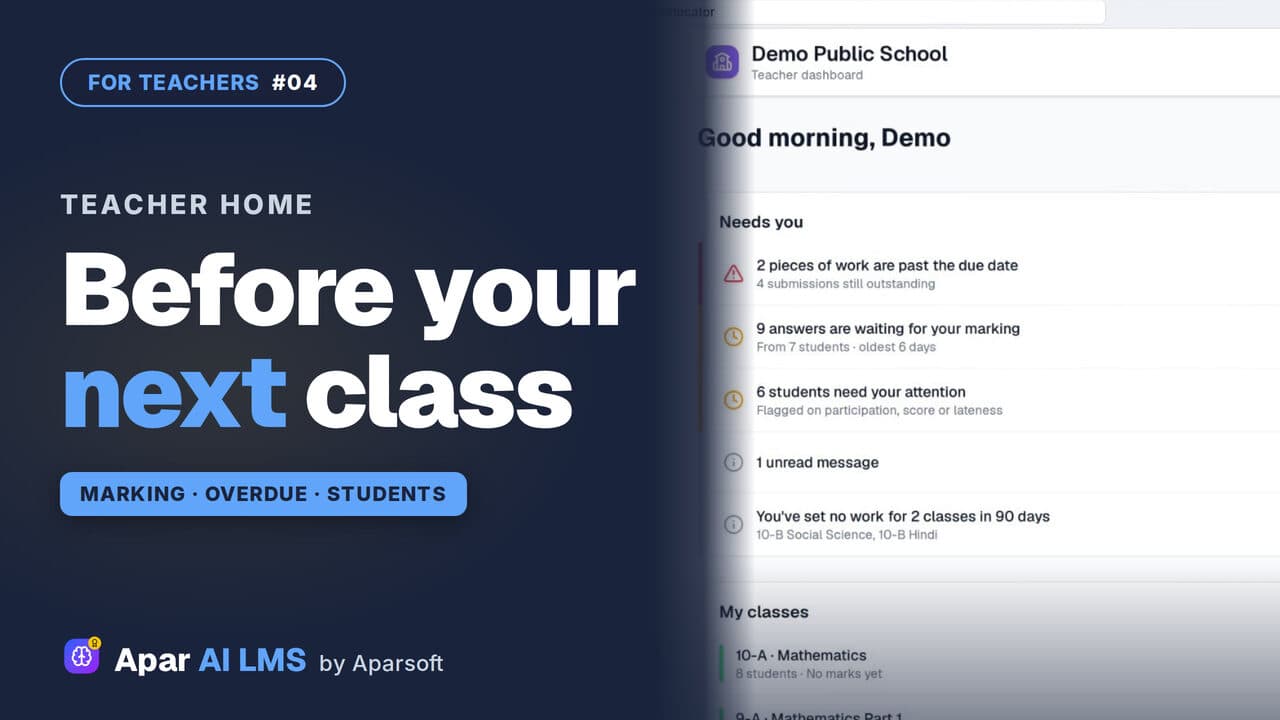 Length2:35#04 · Teachers
Teacher Dashboard: Home, Menu and Set Work
Teacher Home answers one question: what needs you before your next class? Then Set work, and where everything lives in the menu.
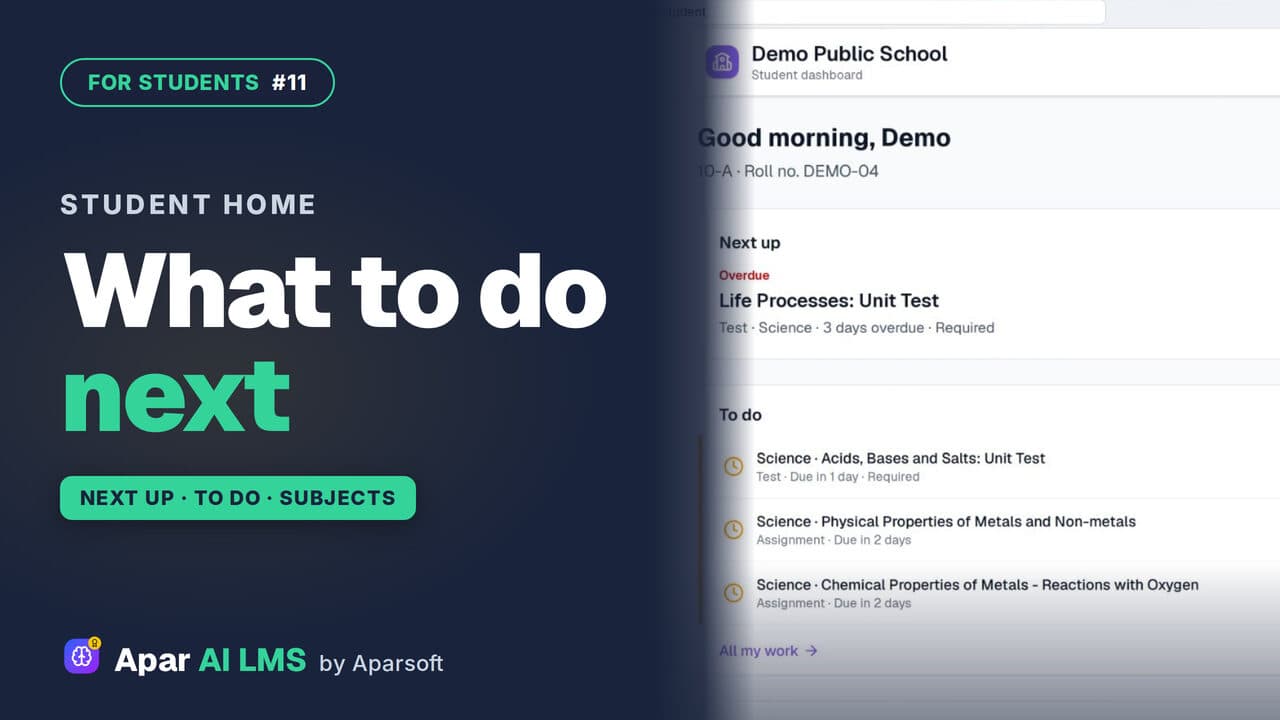 Length1:36#11 · Students
Student Dashboard: What to Do Next
Next up names the one thing to do now, To do lists the rest with due dates, and My subjects shows how each subject is going.
Try it on your own school
Start the 2-month free trial. No payment.
- No payment
- No commitment
- Onboarding included