Add a class, its section and its subjects to your school LMS
Add a class with its grade, name, section and subjects. The teachers can wait; the new class gets its own page at once.
Every screen in the films is the real product, shown on a demo school made for them.
Classes hold the LMS together: work is shared with a class, students join a class, and reports are read class by class. That is why the office sets them up before inviting teachers and students. A class needs only its grade, a name, a section and the subjects it studies.
The film adds a Class 9 section on a demo school, skips the teacher step on purpose, and opens the new class's page to show what is already there and what is still to come.
Step by step
Open Classes
On the school admin dashboard, press Classes in the left menu. Each row is one class, with its grade and its students.
Watch from 0:00Press Add class and pick the grade
Press Add class at the top right and choose the grade. The film picks Class 9.
Watch from 0:21Name the class and its section
Type the class name exactly as teachers and students should see it, then its section. The name appears on every list and every share, so keep to the style your school already uses.
Watch from 0:34Tick its subjects
Tick every subject this class studies; each one will need a teacher later. Under More options you can set the board, the most students the class may take, and any notes. Press Continue.
Watch from 0:44Leave the teachers for later
Step two asks who teaches the class. You can leave it empty, which helps when your teachers are not invited yet: you can choose them later under Who teaches what. Check what you are creating and press Create class.
Watch from 1:04Open the class's own page
The new class has its own page. Its subjects are listed, each with no teacher yet, and its tabs cover its subjects, students, teachers and settings. The Classes list now includes the new class too.
Watch from 1:23
Good to know
Each section is its own class
A class is a grade with a section, such as 10-A or 10-B. Each has its own page, its own students and its own teachers, so add each section with Add class.
Subjects with no teacher show as gaps
Every subject you tick appears under Classes, Who teaches what. Until it has a teacher, it shows there as a gap to fill.
Filmed on a demo school
The class in the film, 9-B with its subjects, was created for real on a demo school and removed afterwards.
Questions
- Do I have to choose teachers when I create a class?
- No. The second step, who teaches it, can be left empty. Choose the teachers later under Classes, Who teaches what.
- What can I set under More options when adding a class?
- The board, the most students the class can take, and notes.
- Where do I see a class's students and teachers?
- On the class's own page, under Classes, which has tabs for its subjects, students, teachers and settings.
What the film saysThe narration, scene by scene.
Your classes. This is the school admin dashboard. Here is how to add a class, with its section and its subjects.
The list. On the left, press Classes. Each row is a class, with its grade and its students.
Add class. At the top right, press Add class.
The grade. Choose the grade. Here, Class 9.
Name and section. Type the class name, as teachers and students will see it. Then type its section.
Its subjects. Tick every subject this class studies.
More options. More options holds the board, the most students the class can take, and notes.
Continue. Press Continue.
Who teaches it: later. Step two asks who teaches it. Leave it for now. You can choose the teachers later, in Who teaches what.
Create the class. Check what you are creating, and press Create class.
The class's own page. The class has its own page. Its subjects are here, with no teacher yet.
Its tabs. Its tabs hold its subjects, its students, its teachers and its settings.
On the list. Back on Classes, the new class is on the list.
Coming up. Next: Invite your teachers, one by one or by CSV.
Watch next
 Length2:34#14 · School office
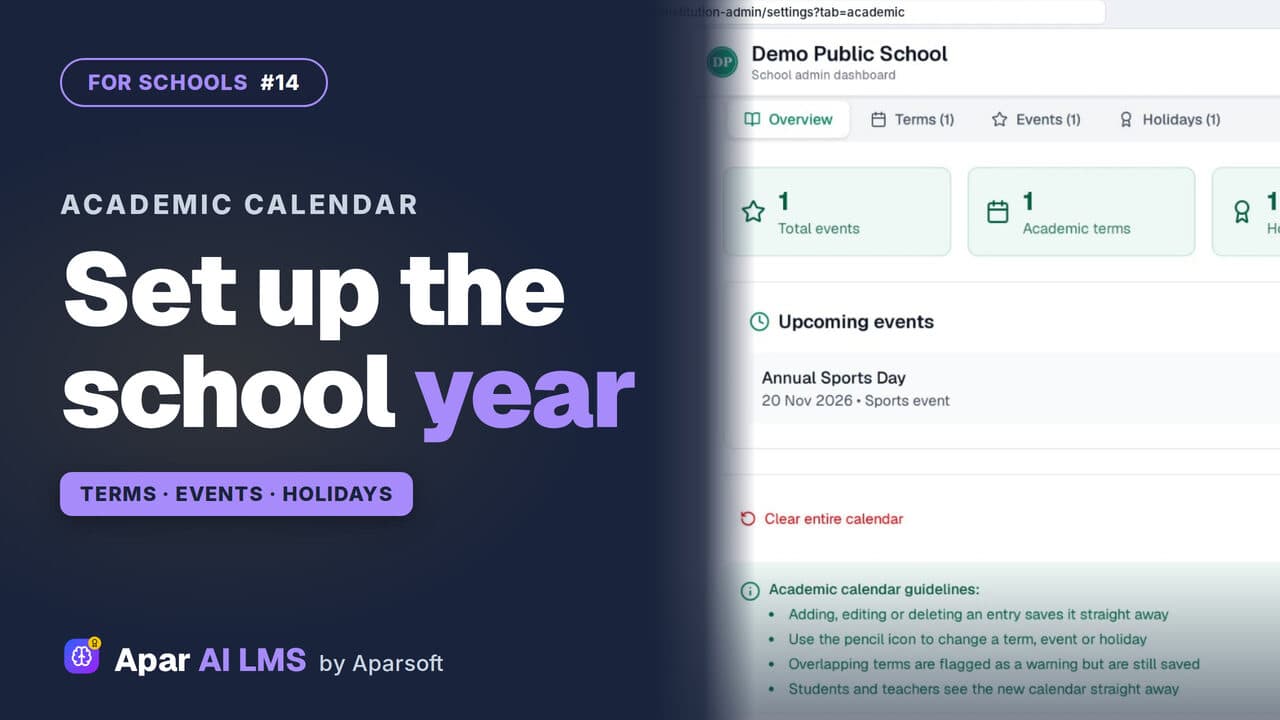
Academic Calendar: Add Terms and Holidays
Add each term, event and holiday once. Overview counts them, school setup is done, and students see the calendar under My school.
 Length3:00#16 · School office
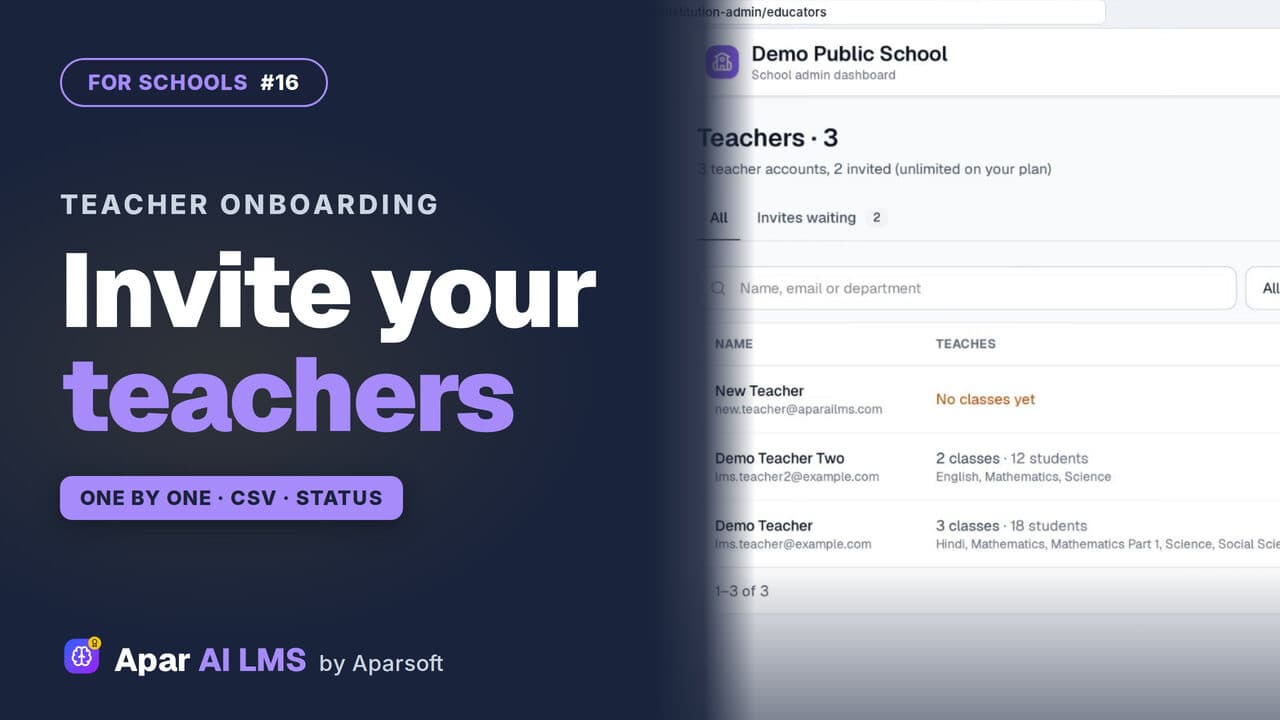
Invite Teachers to Your School LMS by CSV
Invite teachers one at a time or by CSV, follow the invites until they join, and change a teacher's status when they go on leave.
 Length1:52#17 · School office
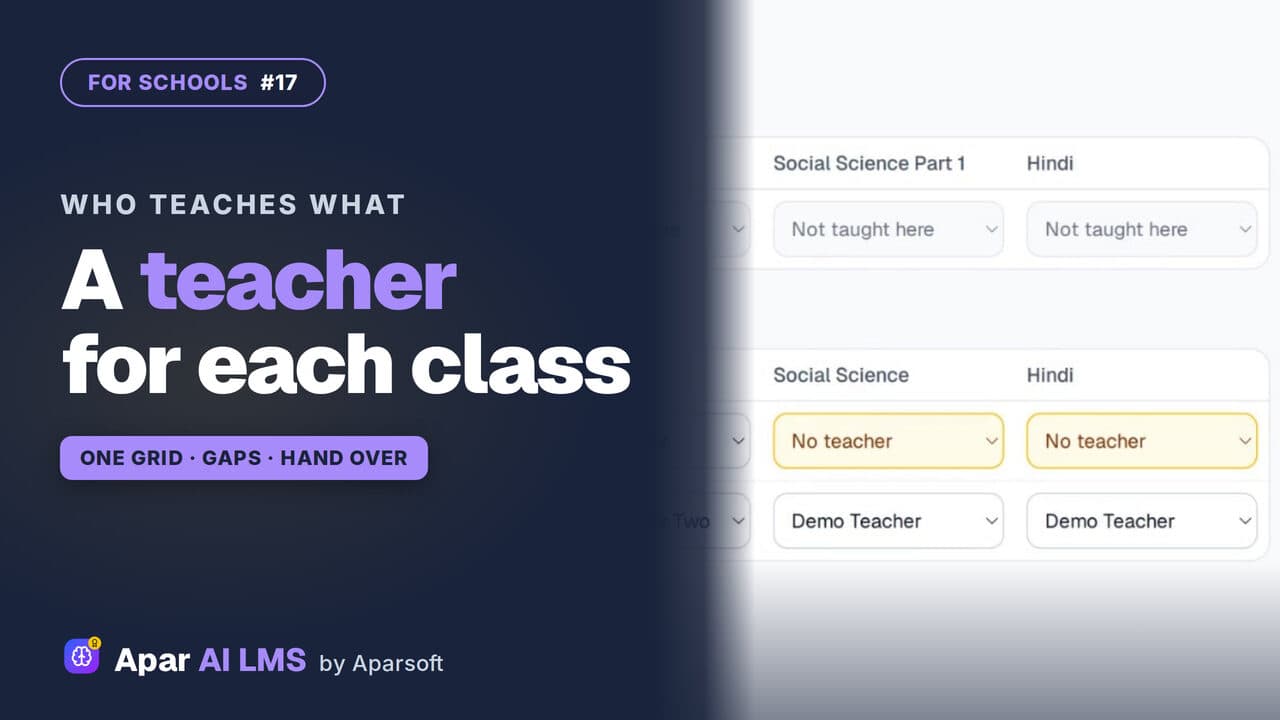
Assign Teachers to Classes and Subjects
One grid per grade shows which subjects have a teacher. Fill the gaps, change a teacher, and the class shows on that teacher's Home.
 Length2:25#19 · School office
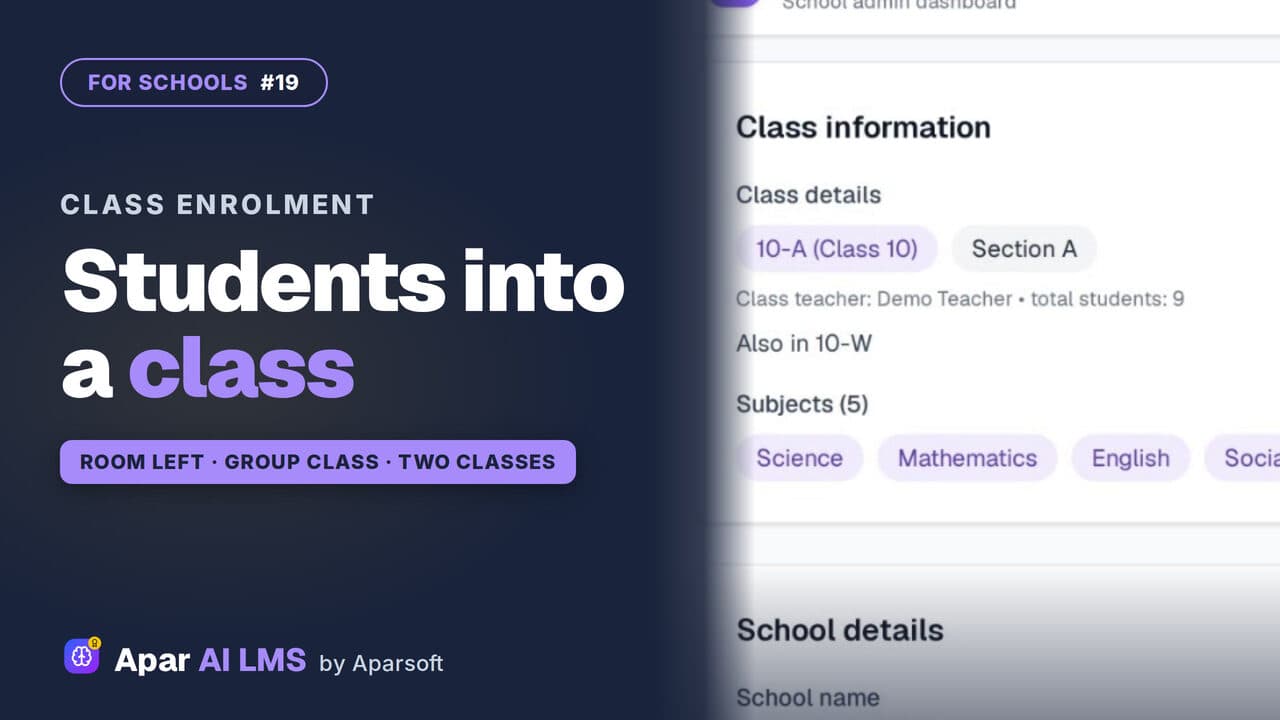
Add Students to a Class or Group Class
Enroll students in a class from its own page, spot who has no class yet, and run a group class for extra help beside the sections.
Try it on your own school
Start the 2-month free trial. No payment.
- No payment
- No commitment
- Onboarding included